www.it-connect.fr
The use of the pipeline with PowerShell
Table of Contents
I. Introduction
With PowerShell, we have to manipulate various special characters when writing scripts, such as parentheses, braces, etc... Among all these characters, there's one that deserves particular attention: the pipeline. In this chapter, we'll look at how it works and why it's important.
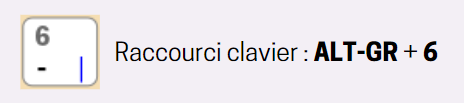
Pipeline, which can be abbreviated to pipe, refers to the special character on the"6" key of an AZERTY keyboard, which can be inserted by pressing the"ALT-GR and 6" keys simultaneously.
II. What is the purpose of the pipeline?
Whether in a PowerShell script or in the PowerShell console, the "|" character is used to sequence commands. In fact, this special character serves the same purpose with other command interpreters, notably Bash under Linux.
To be more precise, the pipeline will position itself between two commands: the output of a first command will be sent as input for the second command. This can even continue with a third command, a fourth command and so on. In most situations, a sequence of two or three commands will suffice.
The pipeline is very useful for filtering data or executing an action according to the result of an initial command, etc.
Here is its syntax:
<First command> | <Second command>
<First command> | <Second command> | <Third command> | etc...
III. Getting to grips with the pipeline
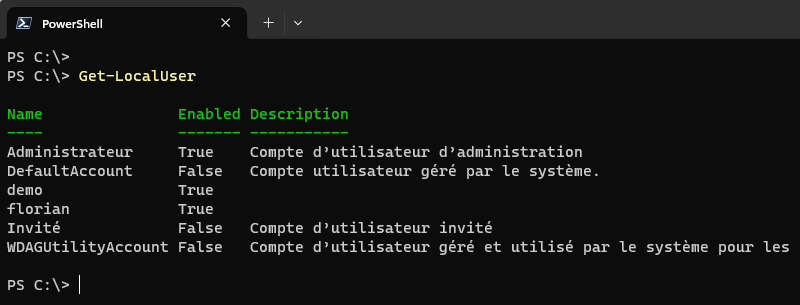
To get to grips with the pipeline, we're going to play around with the"Get-LocalUser" cmdlet. It is used to obtain the list of local users present on a Windows machine. In fact, you can run it on a machine to test it out.
Get-LocalUserWe can see that the result is a list of all users, regardless of their status. Indeed, the "Enabled" property indicates whether the account is enabled or disabled on the local machine.
How can I filter this result to retrieve the list of activated users? Good question. That's where the pipeline comes in...
Currently, we know that if the "Enabled" property is equal to "True", the account is enabled. Conversely, if "Enabled" is set to "False", the account is disabled. Our aim is to retrieve only those accounts where "Enabled = True".
We'll need to filter the result returned by the "Get-LocalUser" cmdlet. To do this, we'll pass the result of this command to another command via the pipeline. The idea is as follows:
Get-LocalUser | <Second commane>This second command is called"Where-Object". It will allow us to filter the result of the first command, which will be transmitted to it as input via the pipeline. This will give us :
Get-LocalUser | Where-Object { <Filter> }So, if we add our condition as a filter, it gives the following command:
Get-LocalUser | Where-Object { $_.Enabled -eq "True" }Here is the result returned by this command:
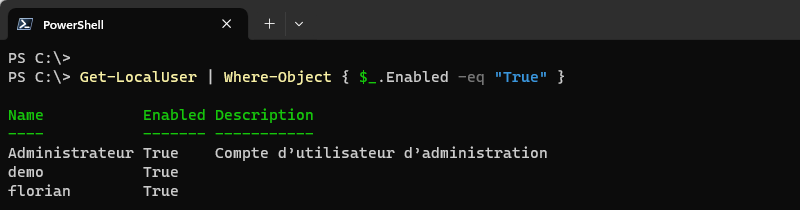
We obtain the expected result: this filtered command returns the list of activated user accounts. Note that "$_" is an automatic variable corresponding to the result returned by the previous command, in this case "Get-LocalUser". Writing "$_.Enabled" means selecting the "Enabled" property, since this is the one you wish to compare to see if it is equal to "True" via the "-eq" comparison operator.
This example illustrates the value of the pipeline, and helps us to understand that processing is carried out from left to right, like our usual reading direction.
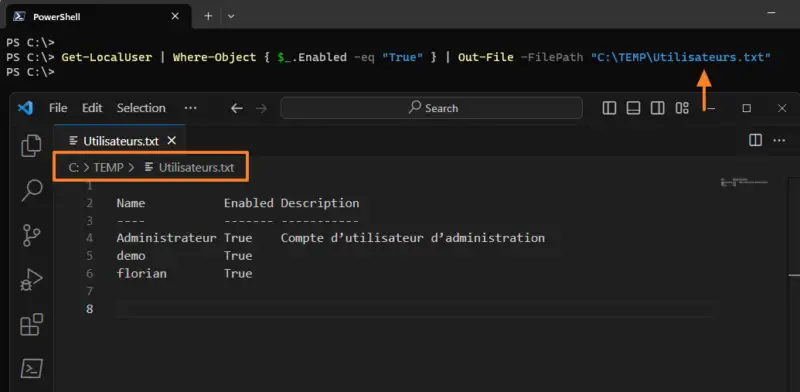
We could go even further by adding a third command to export the account list to a text file. To carry out this very basic export, which can be applied to other situations, we'll use the "Out-File" cmdlet. Simply specify the path and name of the output file.
Get-LocalUser | Where-Object { $_.Enabled -eq "True" } | Out-File -FilePath "C:\TEMP\Utilisateurs.txt"Here is an image of the result:
IV. Conclusion
In everyday use, the pipeline is very practical, whether directly on the command line or when writing scripts. When coupled with certain cmdlets such as "Where-Object", it offers very interesting possibilities for filtering, sorting or executing actions according to results received as input.