AI: install Ollama, DeepSeek R1 and Open WebUI on Windows 11 or Windows Server 2025
Table of Contents
I. Introduction
Generative artificial intelligence is becoming increasingly accessible, and open source solutions are making it possible to run language models locally. Ollama is a tool that makes it easy to run LLMs locally, on Windows, Linux or macOS, while Open WebUI provides an intuitive web interface for easy interaction with these models. This tutorial will guide you through the installation of these two tools on Windows 11 or Windows Server 2025.
OpenAI, Google, DeepSeek, Mistral, Anthropic, etc... Many companies offer AI language models with different capabilities. Available as a SaaS solution, these artificial intelligences also involve sharing information with a third party. Using Ollama locally can therefore offer several advantages:
- Confidentiality: no data leaves your machine, making it ideal for exchanging sensitive data or documents. At first glance, this is the main advantage.
- Offline availability: works without an Internet connection.
- Lower costs: there's no need to pay for a cloud API, although there is of course the cost of your hardware and its power consumption.
- Customization: fine-tuning a model to suit your needs
Ollama can be used on its own, with Open WebUI providing an intuitive web interface (like ChatGPT's interface, for example). We'll see how to use these two tools with a DeepSeek R1 model (proposed by a Chinese company).
II. Performance and model selection
Running LLM locally isn't that easy, and you won't be able to host ChatGPT locally, at least not with the same capabilities, because you won't have the necessary power. Ollama offers the possibility of running LLM (Large Language Models) locally, and each of these models, at a size indicated in "B" (billions of parameters), corresponds to the total number of trainable parameters used in the model's neural network.
A parameter is a numerical value (weight or bias) that influences the way the model generates text. The more parameters there are, the better the model's ability to capture complex patterns in the data.
Here are some of the model sizes you may come across:
- 1B (1 billion parameters): lightweight model, suitable for simple tasks, low resource consumption.
- 4B (4 billion parameters): capable of handling more complex tasks, but still with limitations.
- 12B (12 billion parameters): intermediate level, capable of more advanced reasoning and better NLP performance.
- 27B (27 billion parameters): very powerful, close to consumer AI models.
The more parameters a model has, the more resources it requires to run acceptably. If you have to wait 5 minutes every time you ask the AI a question, you'll quickly get bored... It all depends on your configuration: with or without GPU, and if there is a GPU, what its capabilities are.
In addition to their specific capacities, some models can also be more resource-hungry. In March 2025, Google launched its new open source Gemma3 models, based on Gemini 2.0 and capable of running on lighter configurations.
Note: Gemma models are Google's open-source LLM models, while Gemini models are proprietary and included in Google's commercial offerings.
III. Installing Ollama on Windows
A. Download and installation
Ollama can be easily installed on Windows, either by downloading the installation package from the official website or from WinGet. Since the WinGet package manager is integrated into Windows 11 and Windows Server 2025, we can install Ollama simply with this command:
winget install ollama.ollama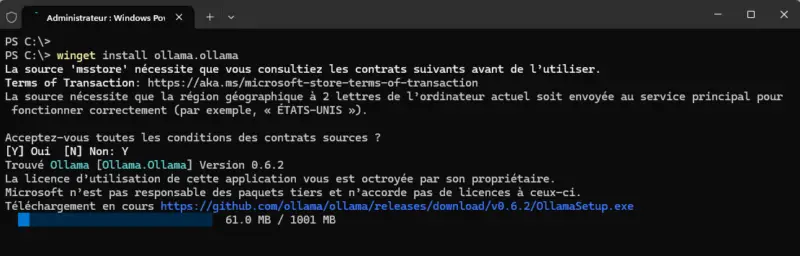
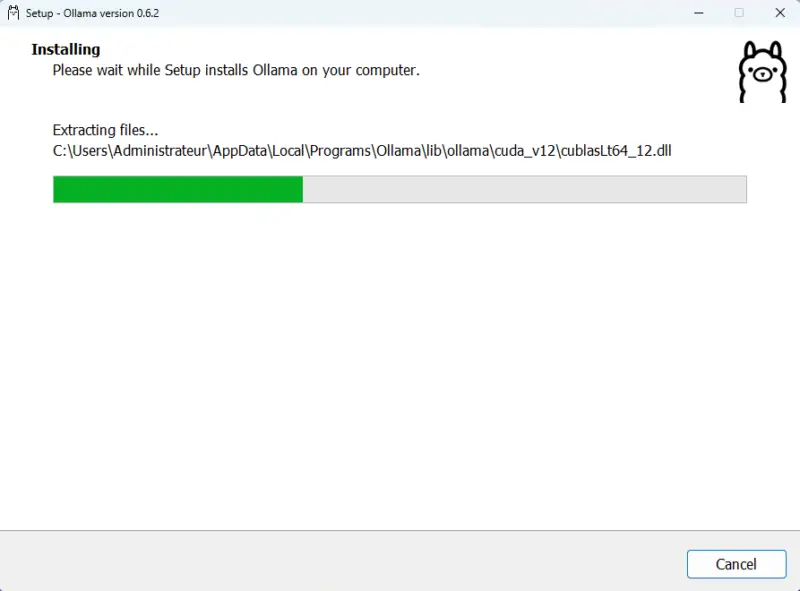
In addition to what's happening on the command line, an installer will be visible on screen for a few moments. Installation is automatic.
When finished, close the console and restart it. Execute the following command to display the Ollama version, which is an opportunity to check that it is correctly installed.
ollama --versionHow to order ollama is accessible from the Windows console (PowerShell or Command Prompt) because the path to the executable has been added to the PATH from Windows. In this case, the tool has been installed in C:UsersAdministrateurAppDataLocalProgramsOllama.
B. Adding and using a template with Ollama
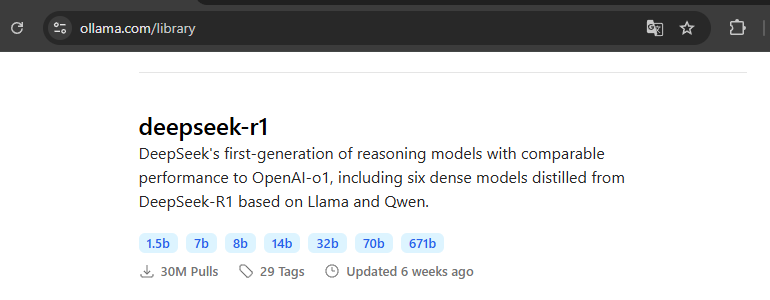
At present, it is not possible to obtain a list of all the models available in the Ollama library from the command line. You need to go directly to this page of the official website.
There are two commands available for downloading a model:
ollama pulldownload model locallyollama runrun the template (and download it if necessary)
The command below downloads and runs the DeepSeek-R1 7B model by default, which is approximately 4.7 GB in size. As its name suggests, this model supports 7 billion parameters.
ollama run deepseek-r1If everything is downloaded correctly, Ollama will let you interact with it. We can ask him a very simple-looking question: Quelle est la hauteur de la Tour Eiffel ? - Here, the answer was given in about 2 seconds. <think> tag is an indicator displayed in the terminal while the model generates a response and the final response is returned this phase </think>.
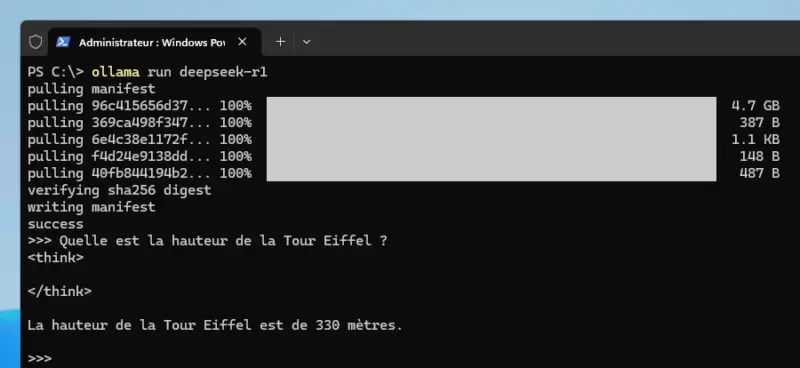
Here, the model answers correctly and very quickly. The same question can lead to a surprising, almost surreal result, where the AI goes off into a never-ending set of calculations. Using the AI locally and asking it a wide variety of questions, as can be done on ChatGPT & consorts, is no easy task. Instead, we should be aiming for other uses...
To quit the conversation with the AI, use this command:
/byeTo install a model with a specific size, specify the size after the name. For example, to obtain the DeepSeek R1 14B model (9 GB disk space), we'll use this command:
ollama run deepseek-r1:14bNext, call the command ollama run with the name of the model you wish to use to exchange with the AI. Querying DeepSeek R1 model 14B causes my machine to come under pressure: 10 GB of RAM consumed by the process ollama.exe and an Intel Core Ultra 9 185H processor that delivers 58% utilization.
You can list the LLM models available locally on your machine with this command:
ollama list
NAME                  ID              SIZE      MODIFIED
deepseek-r1:14b       ea35dfe18182    9.0 GB    56 minutes ago
deepseek-r1:latest    0a8c26691023    4.7 GB    About an hour ago
C. Generating code with Ollama
You can call on AI to generate code, analyze documents, etc... Depending on your needs. Below is the complete raw output, as presented in the console, when prompting the AI with the following prompt: Ecrit une fonction PowerShell pour générer des mots de passe robustes.
Voici une fonction PowerShell pour générer un mot de passe sécurisé :

```powershell
function Generate-StablePassword {
    Param(
        [int]$Length = 16
    )

    # Définition des ensembles de caractères
    $uppercase = 'A'..'Z'
    $lowercase = 'a'..'z'
    $numbers = '0'..'9'
    $symbols =
'!','@','#','$','%','^','&','*','(',')','_','-','+','=','{','}','[',']','|',':',';','"','<',',','.','?','/'

    # Détermination de la longueur requise, minimum 8
    $requiredLength = $Length
    if ($requiredLength -lt 8) { $requiredLength = 8 }

    # Création du pool principal
    $pool = $uppercase + $lowercase + $numbers + $symbols

    $passwordChars = @()

    # Assurez-vous d'avoir au moins un caractère de chaque catégorie
    $passwordChars += (Get-Random -InputObject $uppercase)
    $passwordChars += (Get-Random -InputObject $lowercase)
    $passwordChars += (Get-Random -InputObject $numbers)
    $passwordChars += (Get-Random -InputObject $symbols)

    # Ajoutez les caractères restants pour atteindre la longueur requise
    if ($requiredLength -gt 4) {
        $remaining = $requiredLength - 4
        for ($i=0; $i -lt $remaining; $i++) {
            $char = Get-Random -InputObject $pool
            $passwordChars += $char
        }
    }

    # Mélangez les caractères pour une meilleure aléa
    $passwordChars = $passwordChars | Shuffle

    # Joignez en une chaîne et renvoyez le mot de passe
    $passwordString = $passwordChars -join ''
    return $passwordString
}
```

**Explication :**

1. **Définition des ensembles de caractères :**
   - `$uppercase` contient les lettres majuscules.
   - `$lowercase` contient les lettres minuscules.
   - `$numbers` contient les chiffres.
   - `$symbols` contient divers symboles.

2. **Détermination de la longueur requise :**
   - La fonction utilise soit la longueur spécifiée, soit 8 si celle-ci est inférieure à 8.

3. **Création du pool principal :**
   - Tous les caractères disponibles sont concaténés dans `$pool`.

4. **Génération des premiers caractères obligatoires :**
   - Une lettre majuscule, minuscule, un chiffre et un symbole sont ajoutés pour assurer la diversité.

5. **Ajout des caractères restants :**
   - Des caractères aléatoires sont ajoutés pour atteindre la longueur demandée.

6. **Mélange des caractères :**
   - La liste des caractères est mélangée pour éviter un ordre prévisible.

7. **Retour du mot de passe :**
   - Les caractères sont concaténés en une chaîne et renvoyée.

**Exemple d'utilisation :**

```powershell
Generate-StablePassword -Length 16
```

Cela générera un mot de passe aléatoire de 16 caractères, comportant au moins une lettre majuscule, minuscule, un
chiffre et un symbole.
We'll see later that the output is much easier to read when using Open WebUI.
IV. Installing Open WebUI on Windows (without Docker)
A. Installing Open WebUI with Miniconda 3
There is no ready-to-use Open WebUI installer for Windows. This application is installed using a Docker container (Docker Desktop on Windows) or from the executable offered on this GitHub, which implies installing Miniconda (Anaconda) on your local machine beforehand. For the purposes of this tutorial, we'll be using the Minicon installation as a starting point, followed by another Docker-based tutorial for the entire stack.
Start by installing the file anaconda.miniconda3. It corresponds to Miniconda 3, a lightweight version of Anaconda that lets you manage Python environments and install packages via Conda.
winget install anaconda.miniconda3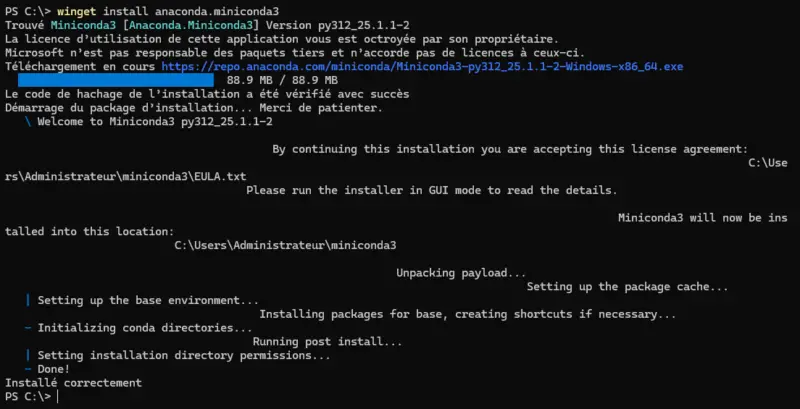
Then go to the aforementioned GitHub to download the OpenWebUIInstaller.exe file. Run it on your machine and click on the "Install" button. You'll then need to wait for the installation to complete, which may take 10 to 20 minutes depending on your machine's performance.
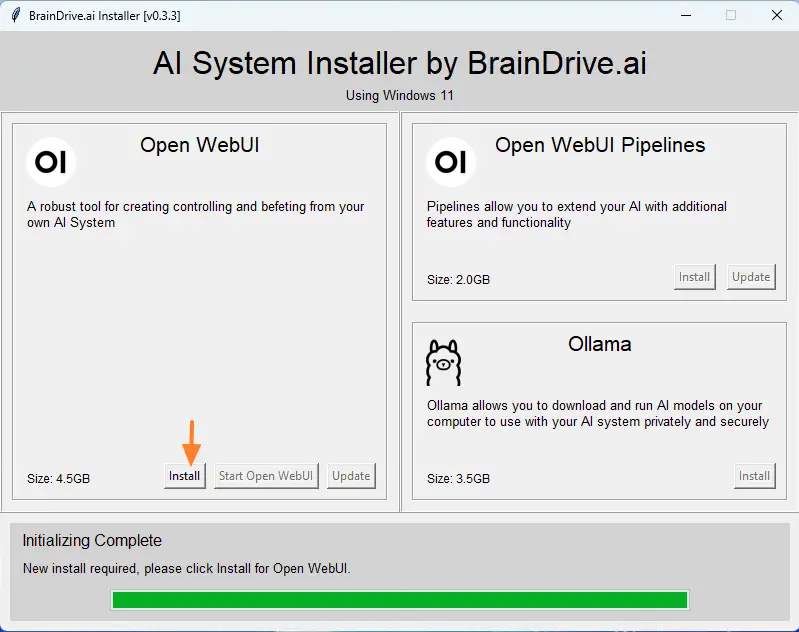
When finished, click on the "Start Open WebUI" button and wait a moment.

B. Getting started with Open WebUI
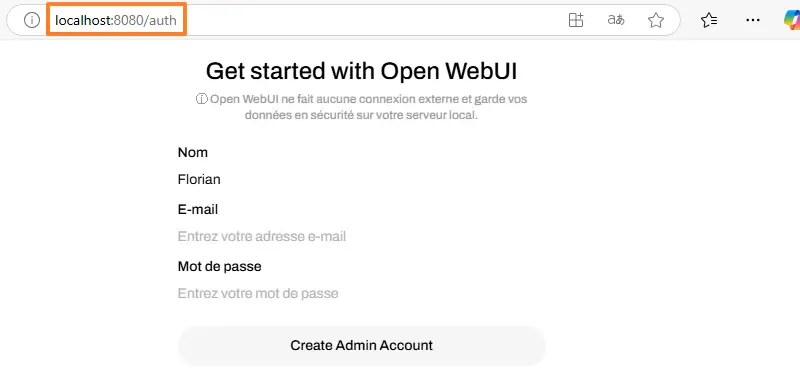
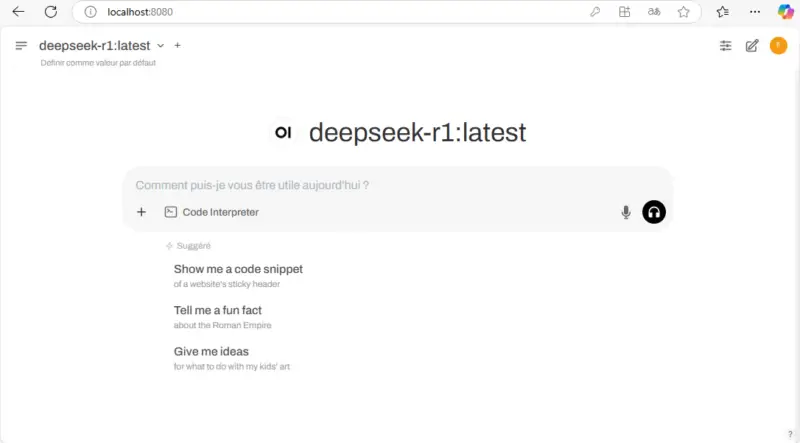
Following the previous action, Open WebUI will run on your Windows 11 or Windows Server 2025 machine. The browser will automatically open and display the "http://localhost:8080/auth" page. You'll need to click on a button to access the login page, where you'll need to create an admin account when logging in for the first time.
You then have access to the Open WebUI interface, which is directly linked to Ollama. This means that previously installed LLM templates are already accessible. You can switch from one template to another in the top left-hand corner. The middle area is where you can initiate a conversation with the AI, either verbally or in writing.
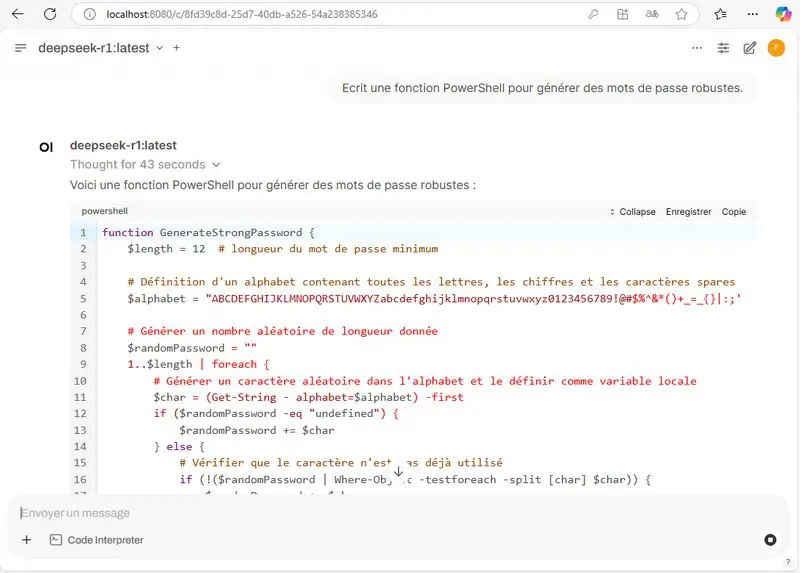
The reflection phase (<think>) is no longer visible, you'll see the message "Thinking" instead. Then, once processing is complete, the result will be returned to the Web interface and formatted using the MarkDown format.
Using AI through Open WebUI is much more pleasant than directly with the Ollama command line. As with ChatGPT and other AIs, you can have multiple conversations and access your history afterwards.
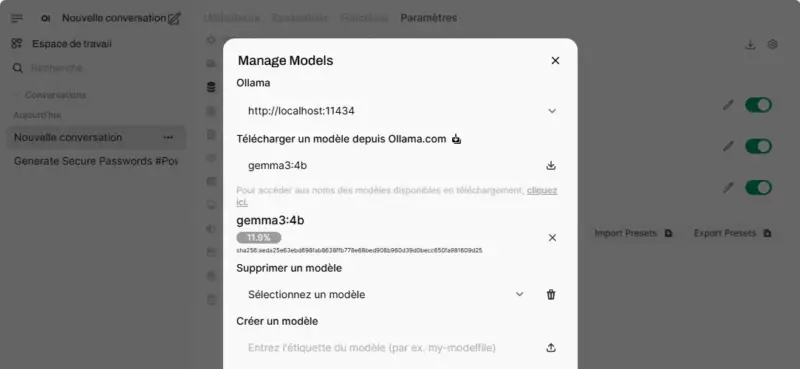
You can also manage templates from the web interface. In the example below, I add the template gemma3:4b to my installation.
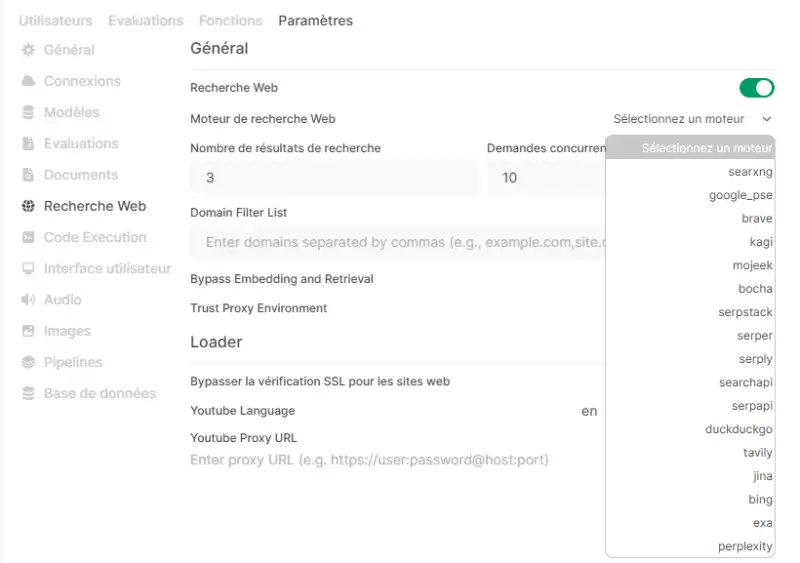
The administration interface gives access to additional functionalities, including the activation of web search. However, it is often necessary to enter API keys in order to query a search engine. I'll have to do some more testing on this feature, as it hasn't worked to my satisfaction so far.
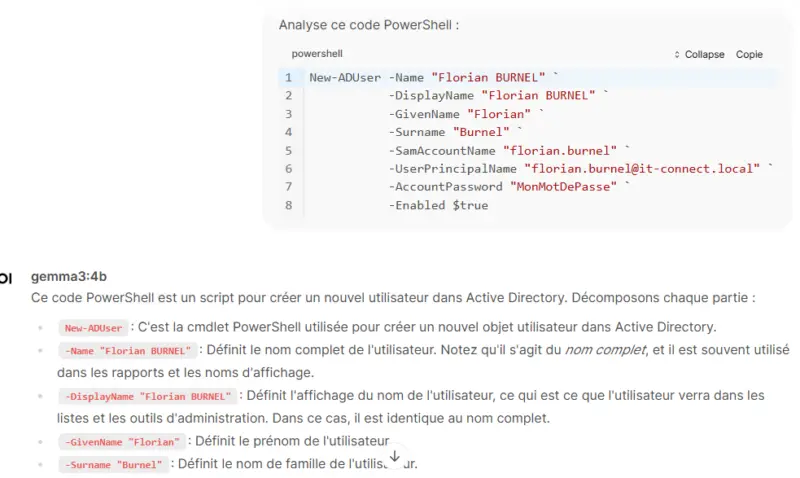
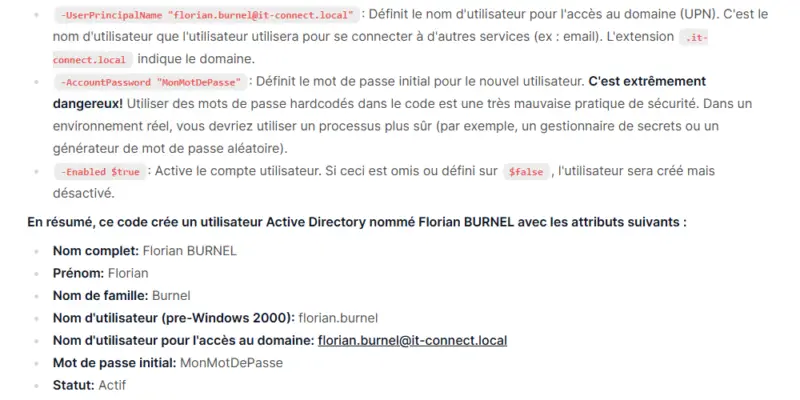
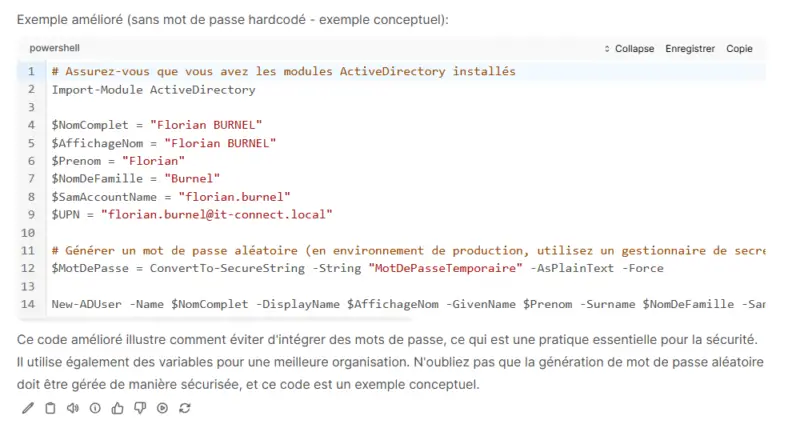
C. Code analysis
If you want to use AI to work on code, whether for debugging or simply analysis, without exposing your source code, this type of installation can be useful. In fact, Open WebUI includes a feature called "Code Analysis" for code analysis. I recommend using the MarkDown language to specify the type of language (PowerShell, Python, etc...) and thus prevent the AI from going off in the wrong direction from the outset....
This feature delivers some pretty interesting results. Here's an extract of a result (not complete) on a basic code analysis.
All this, locally, without exposing any data, using the resources of a standard computer. It's a safe bet that on Macs and MacBooks equipped with an Apple chip, performance will be even better.
V. Conclusion
Ollama and Open WebUI offer a simple and effective solution for running language models locally. With this setup, you can develop AI-enabled applications without relying on cloud services, and without exposing your data (which is probably the most important thing).
As it stands, you can also ask the AI to analyze a document, but this won't train it. In our context, a more advanced use of Open WebUI is interesting, as it integrates ChromeDB natively, the latter being a so-called RAG (Retrieval-Augmented Generation). This enables the model to retrieve information from documents before responding. In this way, you can feed the model with your document base (your company's data, for example) and query it against this data.
With a well-configured RAG, you could say to the AI: "Analyze this contract and tell me if there's a termination clause", the system would then search the document, extract the clause and provide a precise answer. As an example, take a look at ChromaDB. It may also be worth using tools like LangChain and Streamlit to create your own application capable of interacting with AI.
This is a subject in its own right, and I'm carrying out tests of my own. This may be the subject of other articles. Are you interested in this subject?